1What is a booth map?
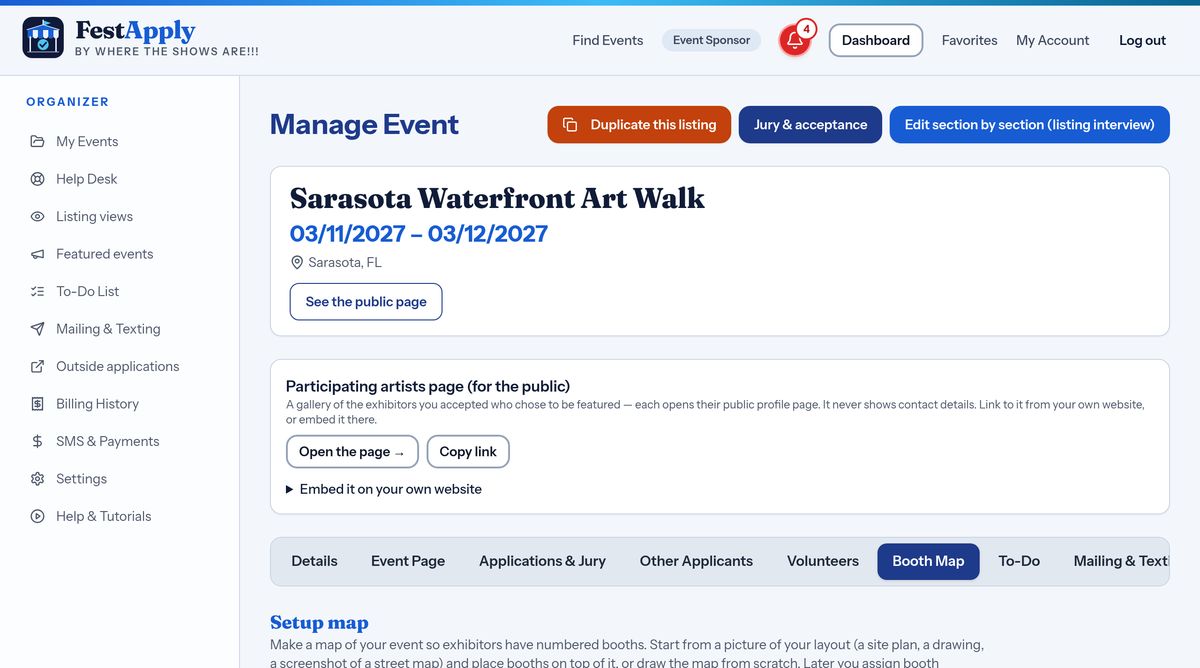
A booth map shows exhibitors exactly where their booth is. Open Manage Event and choose the Booth Map tab. You can also reach it from the link in Booth Information.
Lesson 15 of 21
Start from a picture of the place or a blank sheet, add booths and features, and shape them to fit.
A booth map shows exhibitors exactly where their booth is. Open Manage Event and choose the Booth Map tab. You can also reach it from the link in Booth Information.
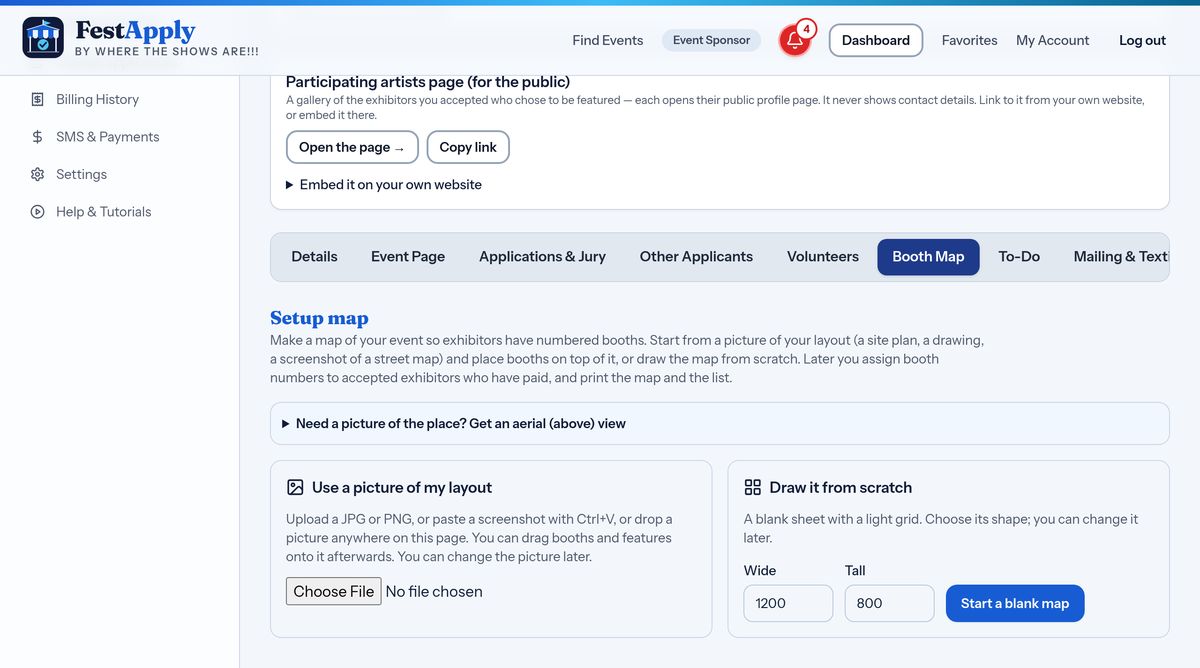
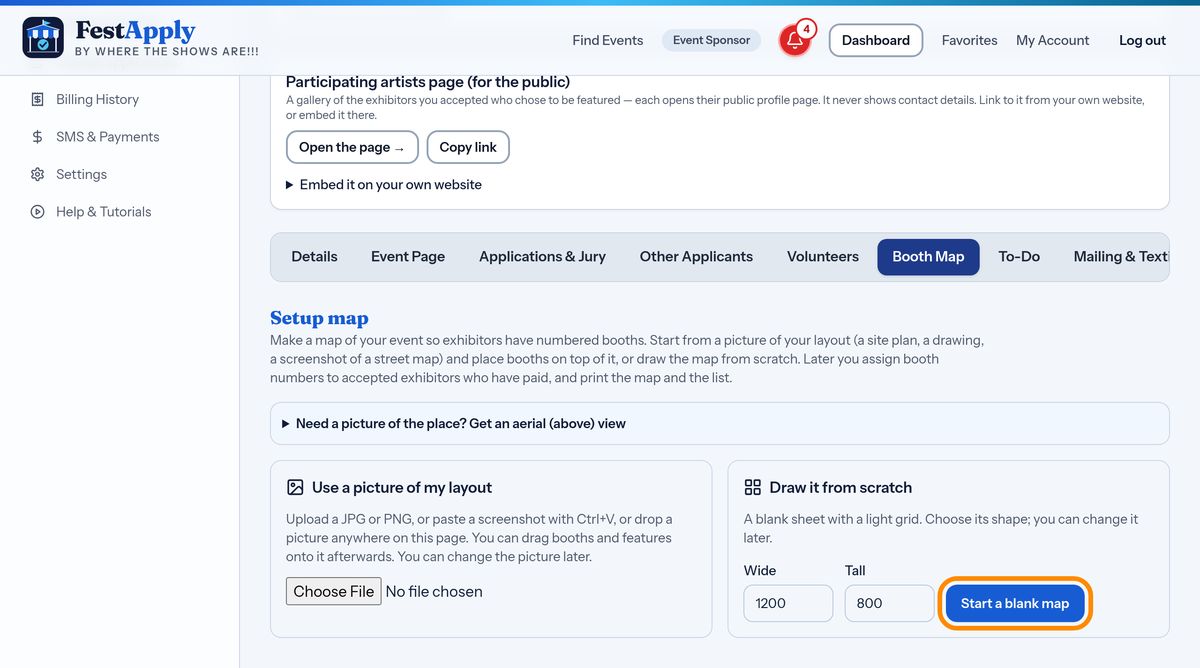
The easiest way to start is with a picture of the place. Upload a site plan, a drawing, or a screenshot of a map. You can also paste a screenshot with Control and V, or drop a picture onto the page.
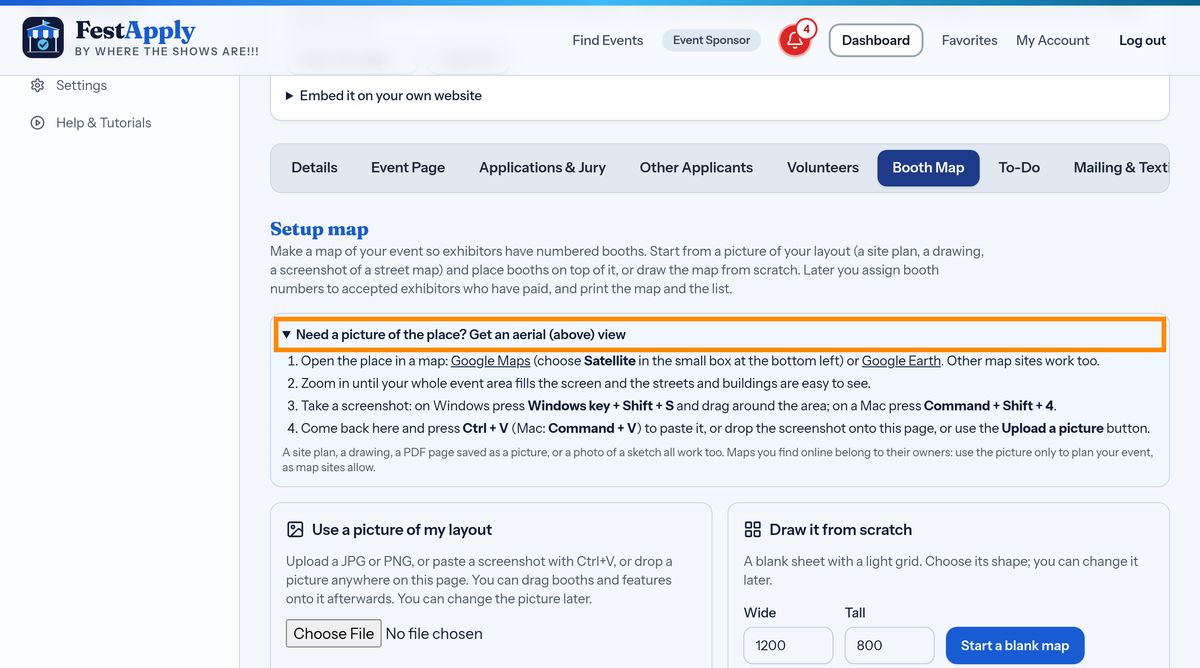
No picture? Open the box called Need a picture of the place. It shows how to get an aerial view from Google Maps or Google Earth. Zoom in until your whole event area fills the screen, and take a screenshot. On Windows press the Windows key, Shift and S. On a Mac press Command, Shift and 4. Then paste it here.
Or choose Draw it from scratch, pick the size, and press Start a blank map. You get a sheet with a light grid. You can add a picture later, and your booths will stay where they are.
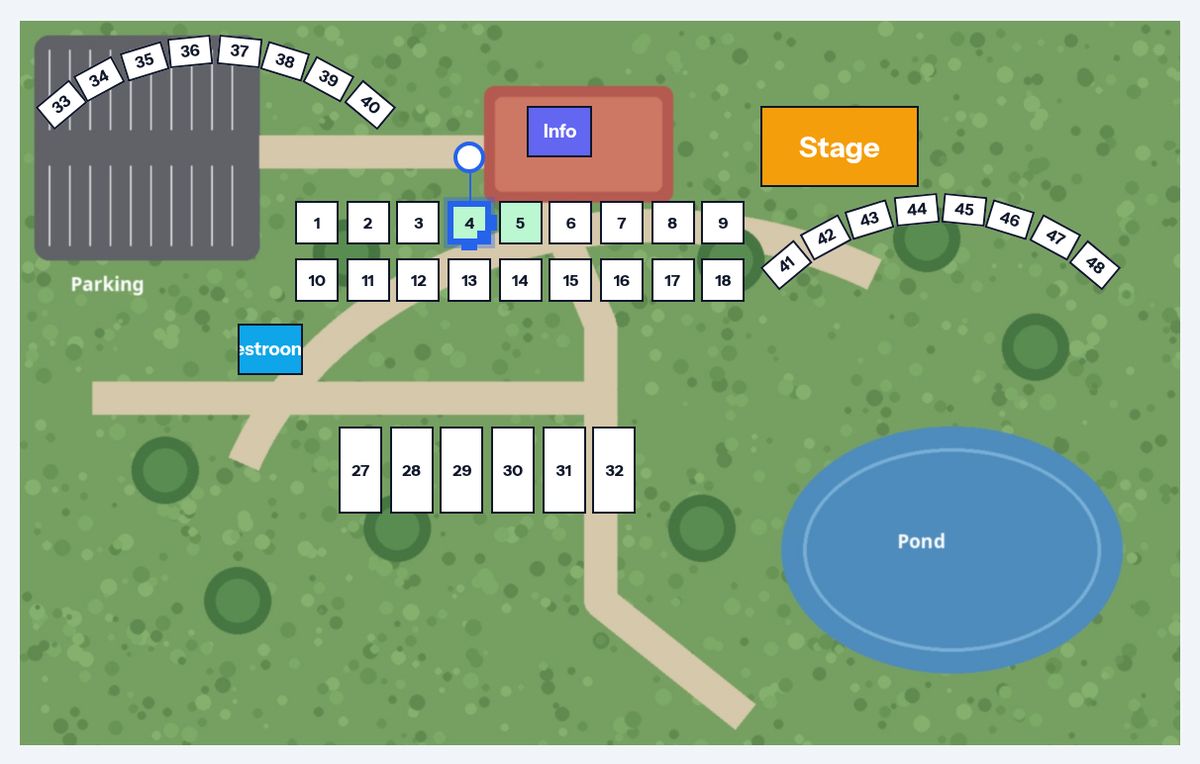
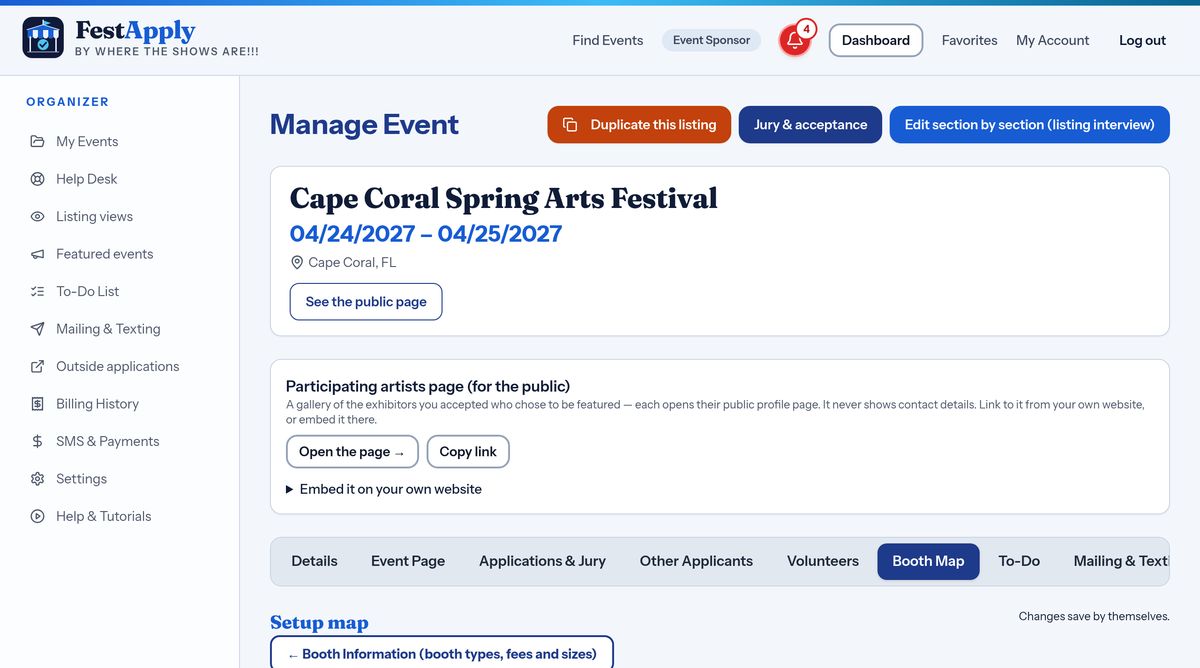
Here is a finished map. On the left is your map, on the right is a panel for whatever you select. Changes save themselves.
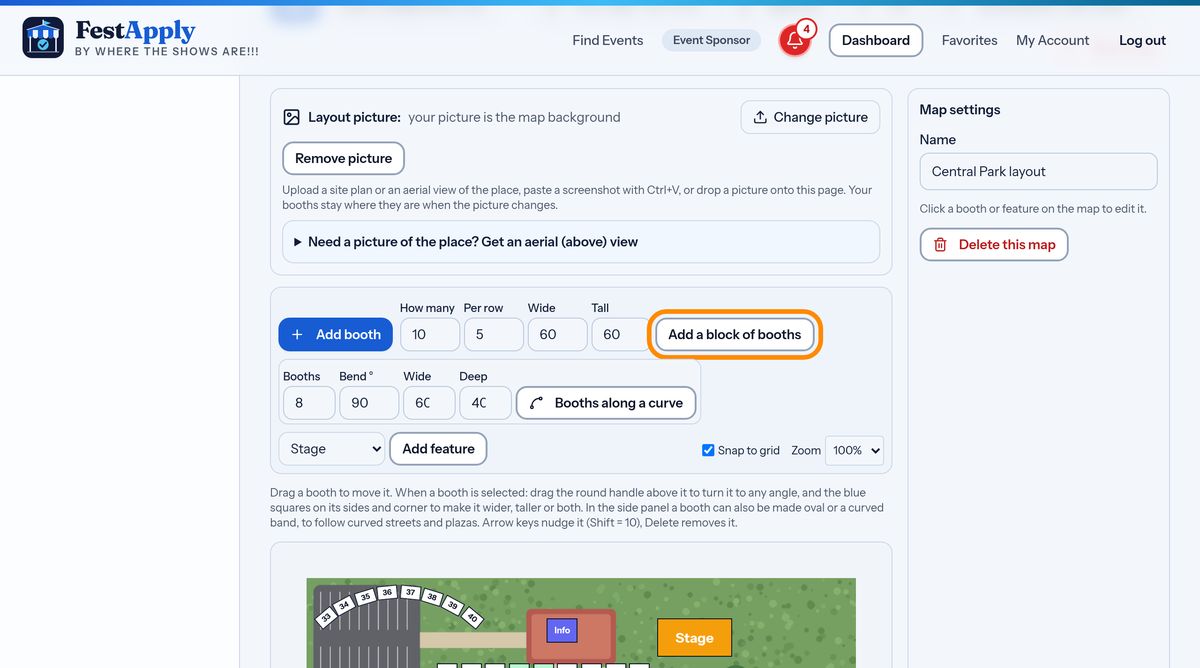
To add booths, choose how many, how many per row, and how wide and tall, then press Add a block of booths. They arrive numbered, in rows, ready to drag into place.
Many places are not straight. Booths along a curve builds a row that follows a bend, each booth turned to follow it. Choose how many booths, how much bend, and their size. A bend of zero is straight, and a negative bend curves the other way.
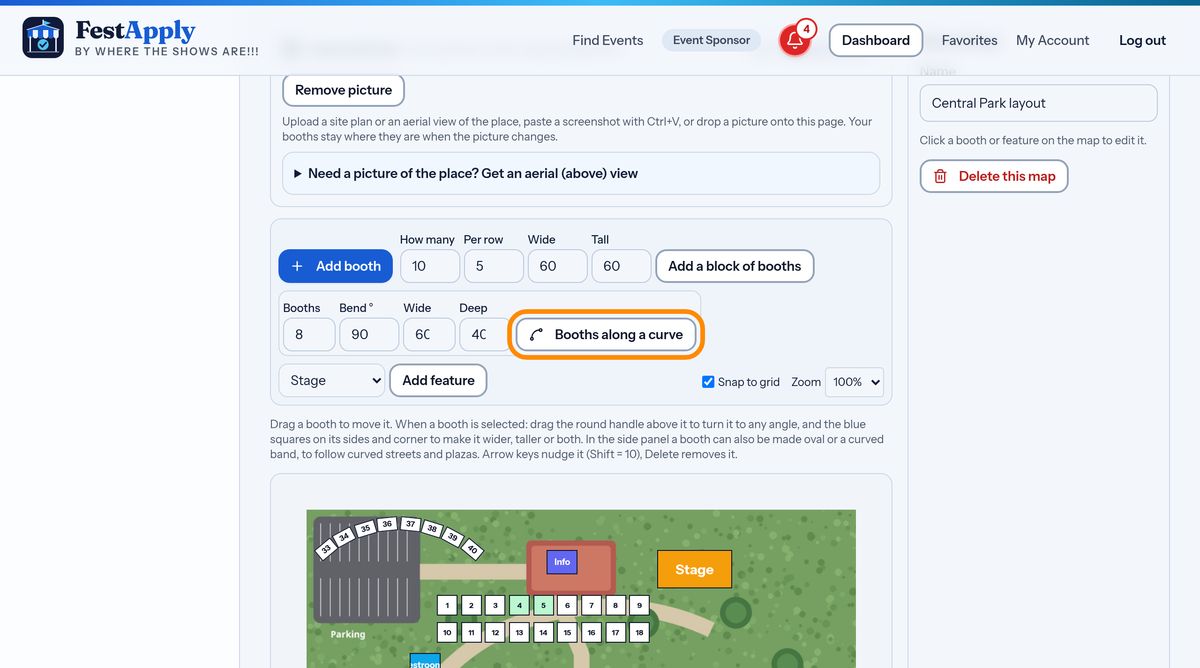
Here is a curved row of booths hugging the edge of a parking lot. Each booth is already turned to follow the curve.
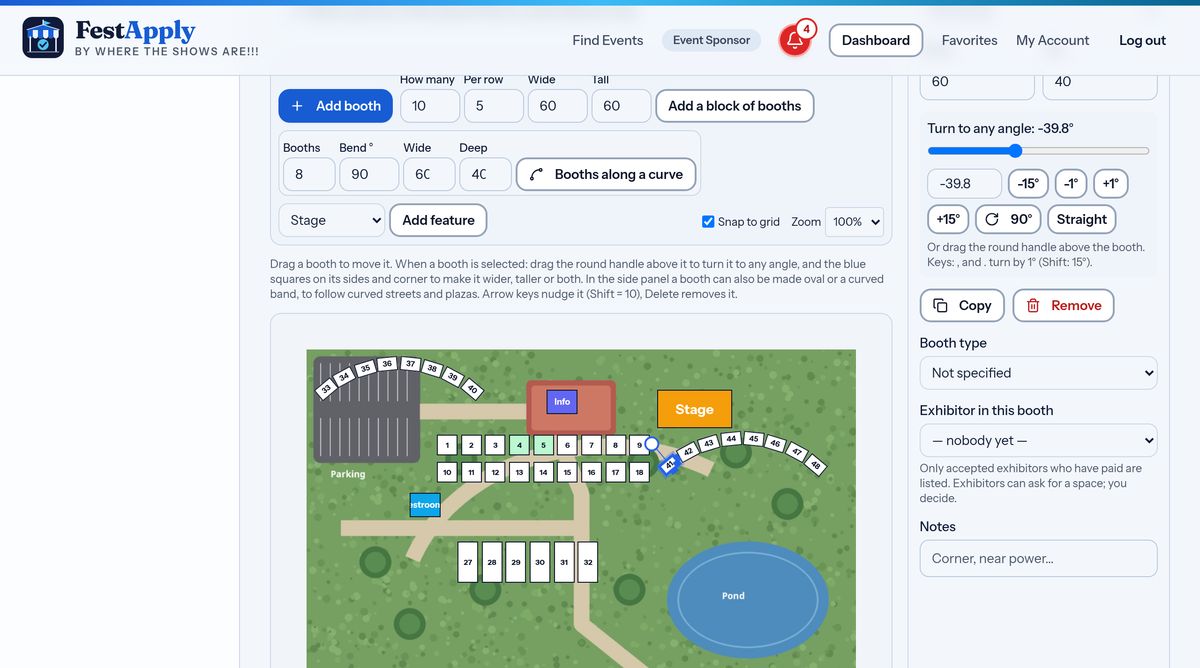
Add features that are not booths, like a stage, an information tent, restrooms, or the entrance, so exhibitors can find their way.
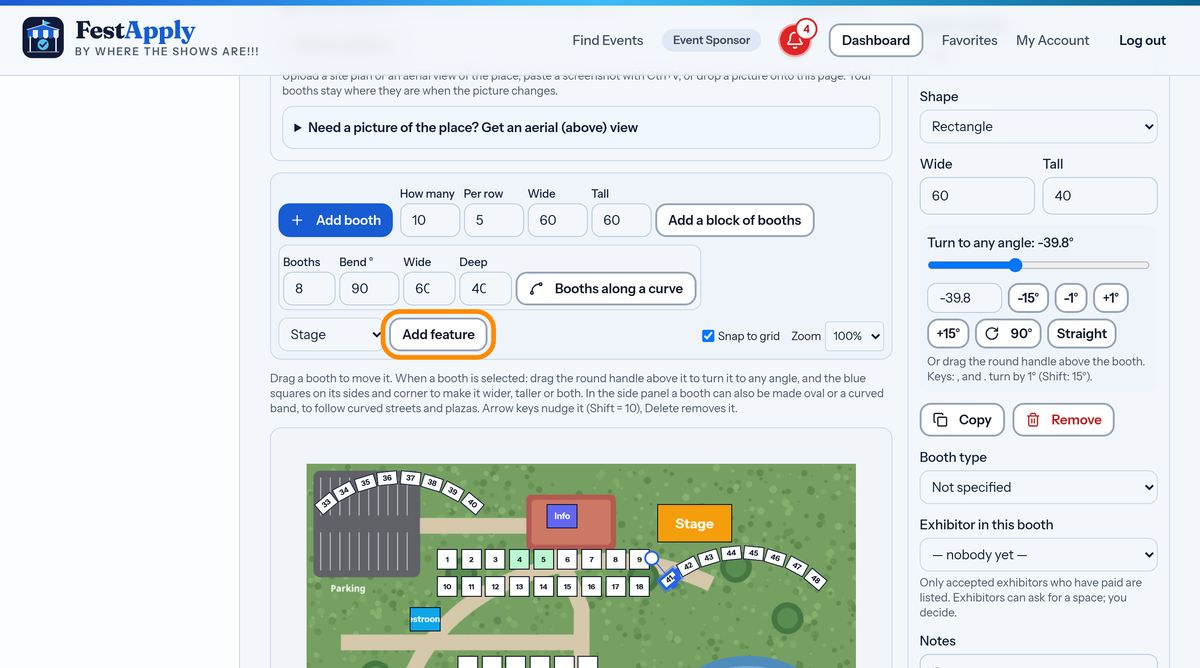
Click any booth to select it. Drag it to move it. A round handle appears above it, and small blue squares on its sides and corner.
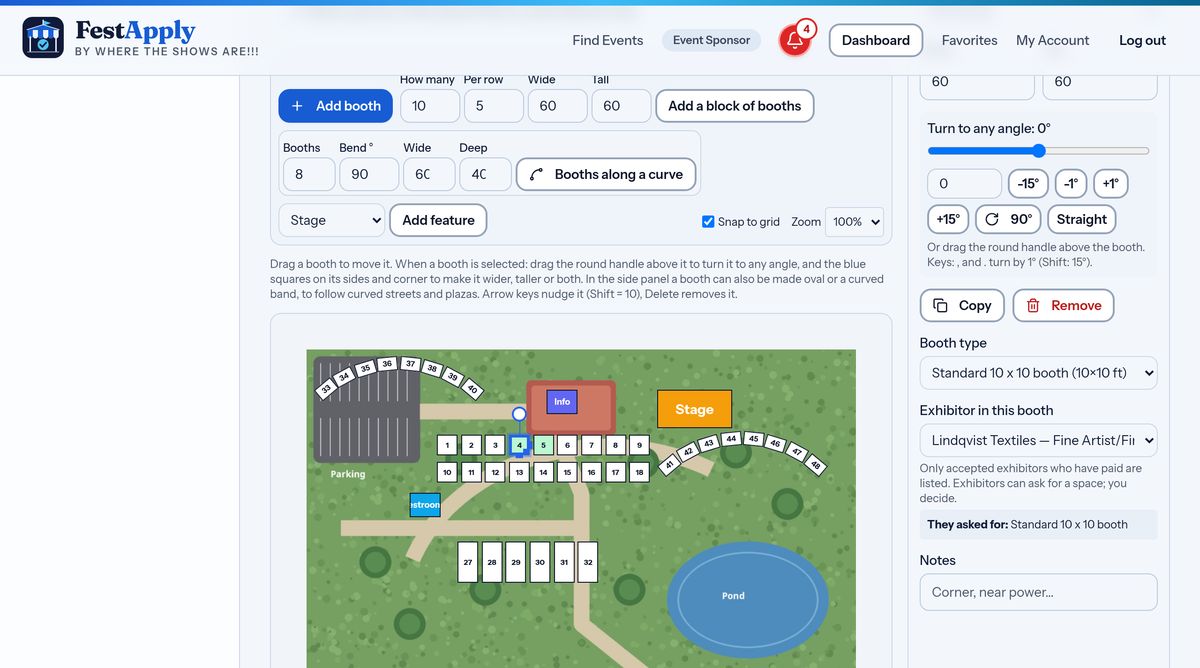
Drag the round handle to turn the booth to any angle. Or use the angle slider in the side panel, or the plus and minus buttons to nudge it one or fifteen degrees. Hold Shift while turning to step in fifteen degrees.
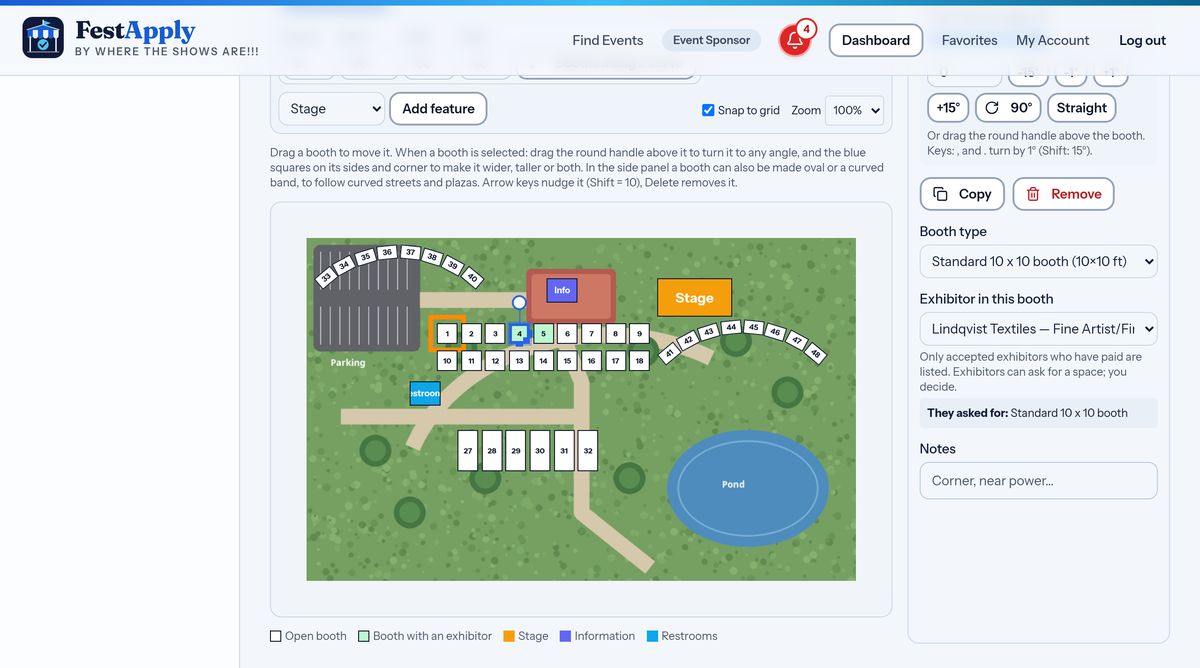
Drag the blue squares to make a booth wider, taller or both, so it fits the space. Doubles, corners and odd spots all fit this way.
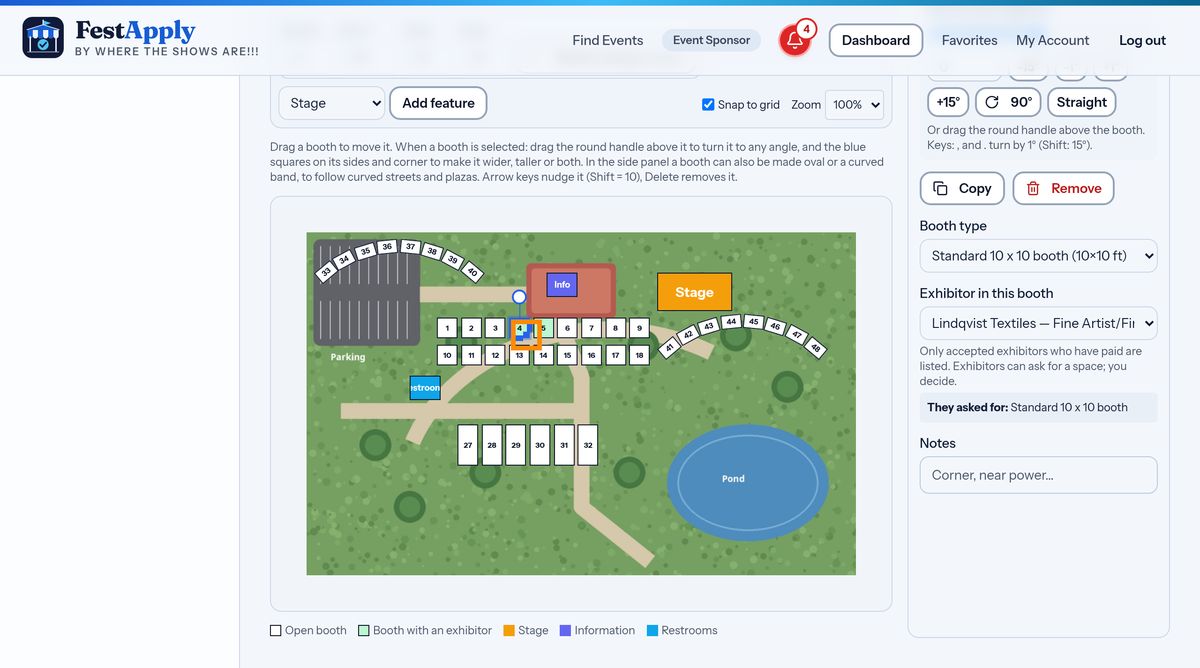
In the side panel, a booth can also be made oval, or curved to follow a bend in a path.
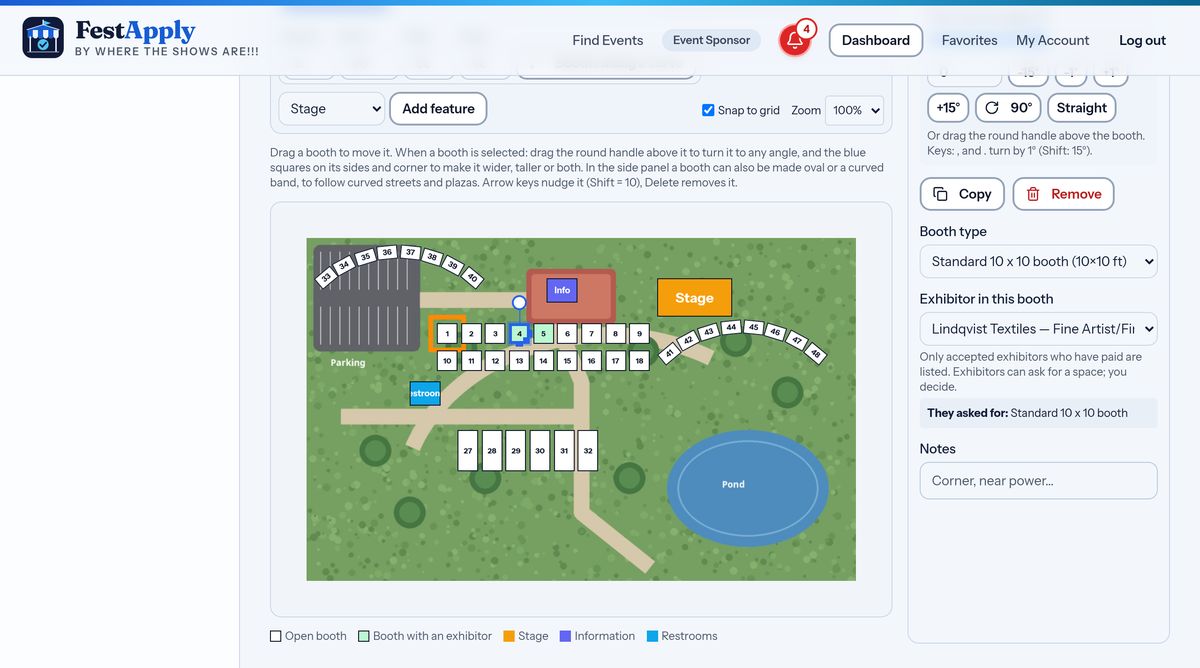
Choose the booth type, so the map shows its size and fee, and add a note, such as corner, or near power.
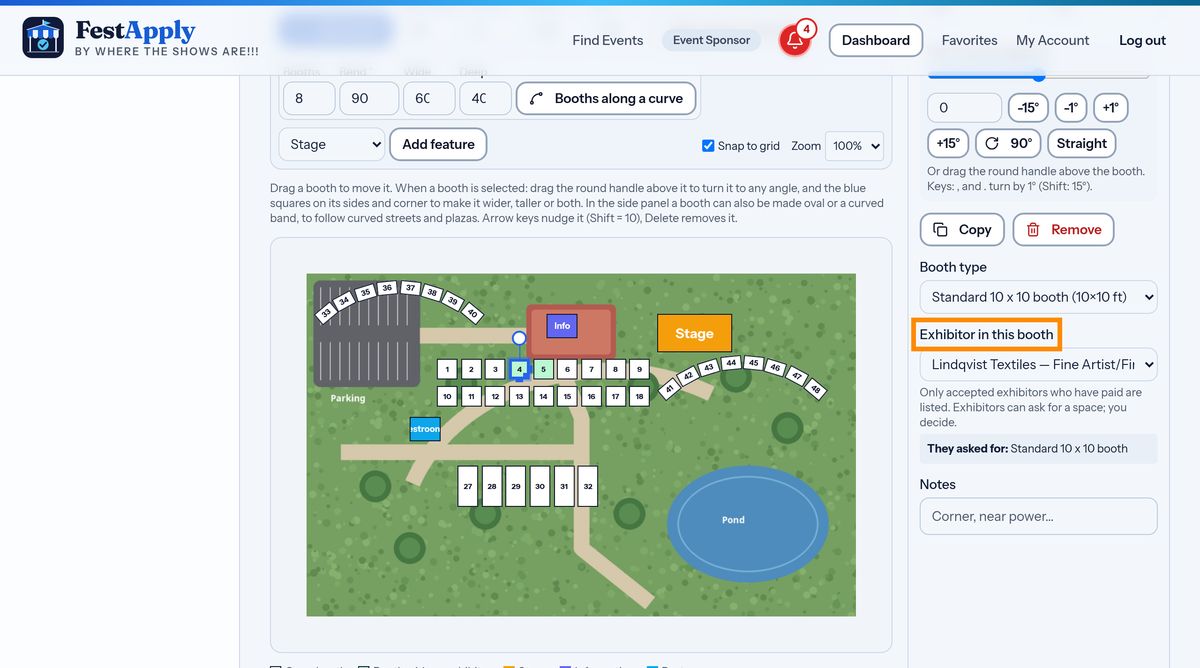
When you are done, the map shows every booth numbered, the features, and your picture underneath. Next, we assign exhibitors to the booths.