All event sponsor tutorials

Lesson 16 of 21

Assigning Booths, Sharing and Printing the Map

Put accepted exhibitors in booths, filter the list, tell them their booth, and start over if you need to.

Prefer to read? The steps

1Pick an exhibitor for a booth

Select a booth and look at the box called Exhibitor in this booth. The list shows accepted exhibitors who have paid. If you have turned on the option to list unpaid exhibitors, those appear too. Choose a name and the booth is assigned.
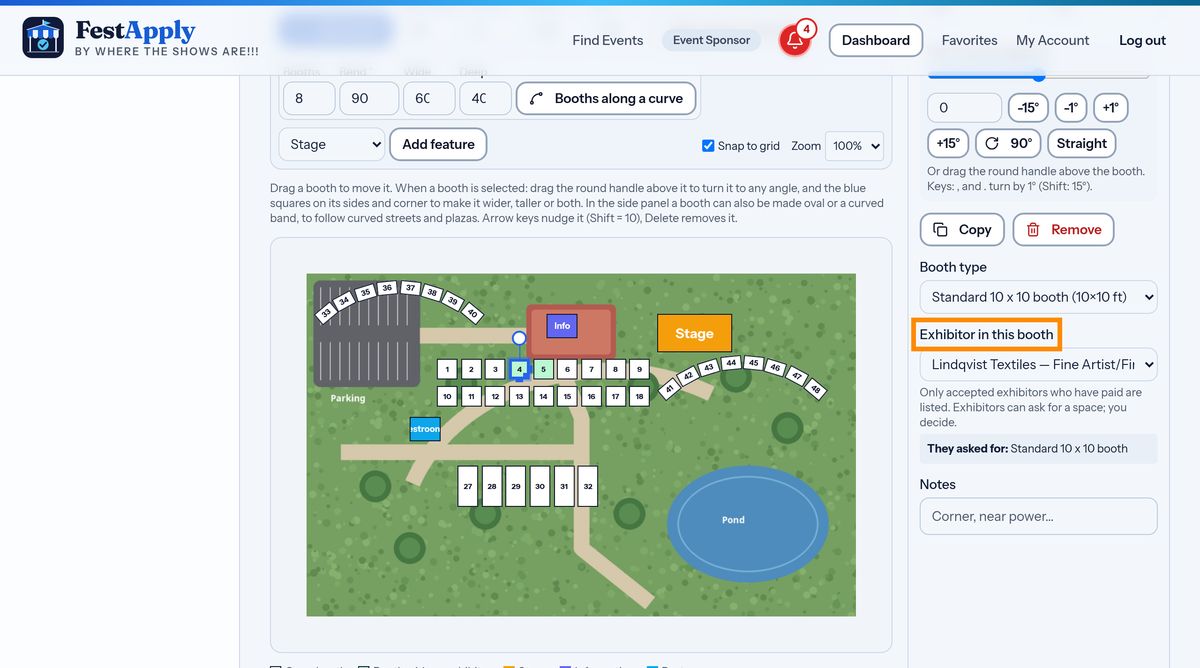
Pick an exhibitor for a booth

2Booth assignments list

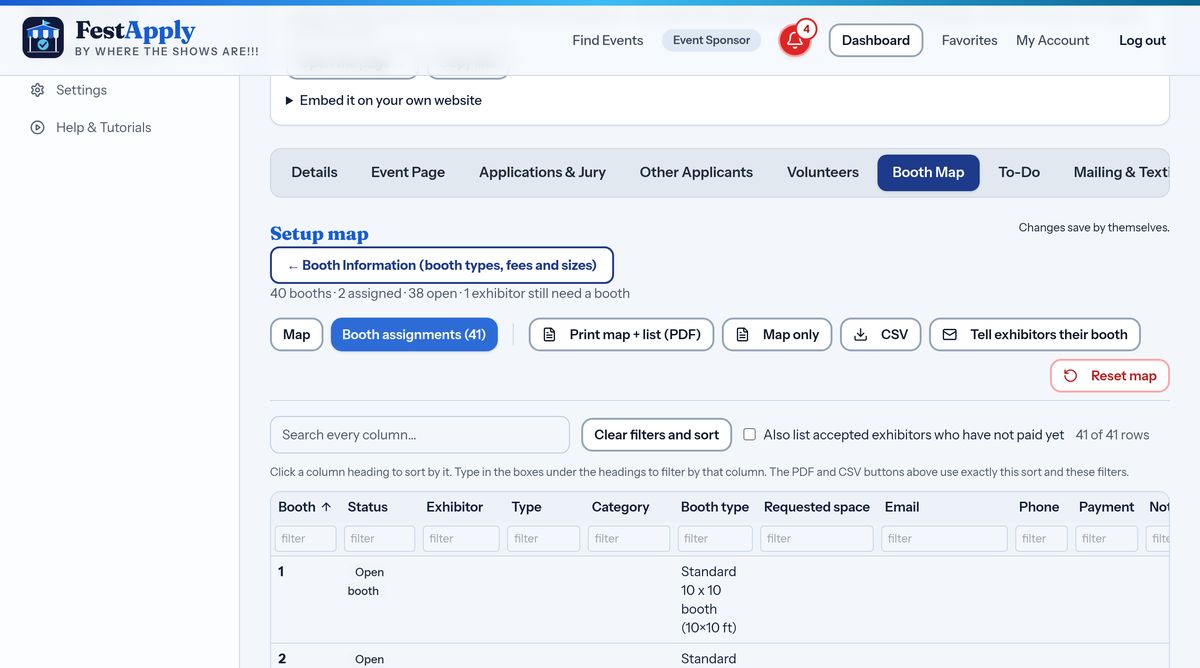
Press Booth assignments for a table of every booth, who is in it, their type, category, requested space and contact details, and whether they have paid.

Booth assignments list

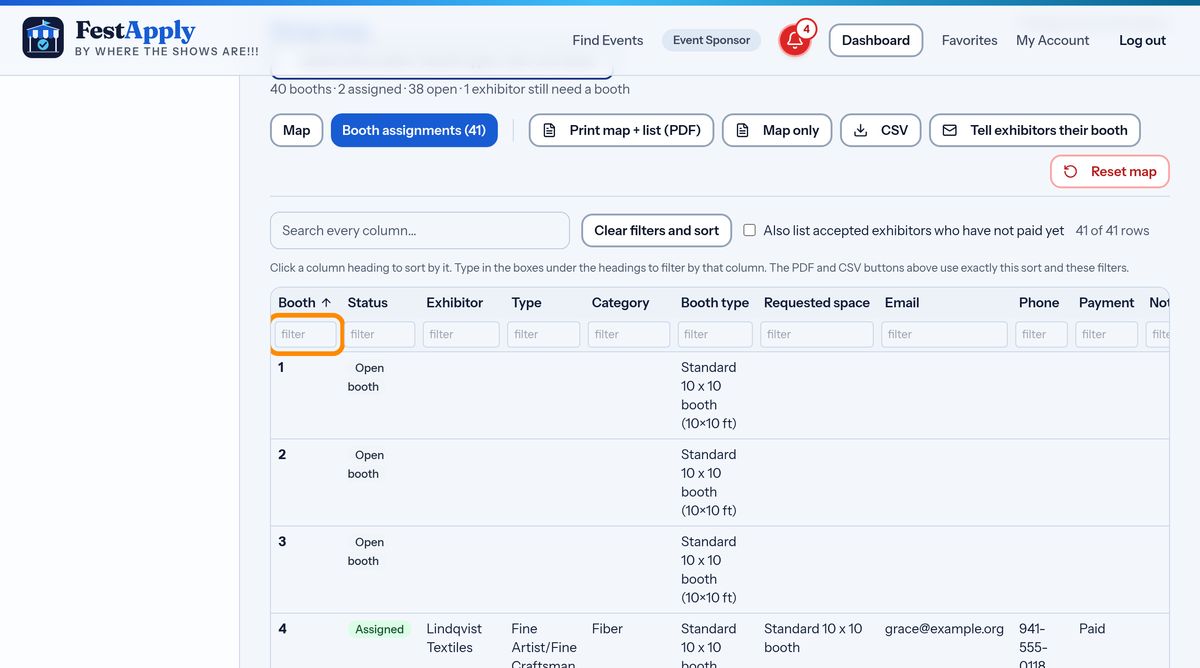
3Sort and filter

Click a column heading to sort by it. Type in the boxes under a heading to filter by that column. For example, show only the open booths.

Sort and filter

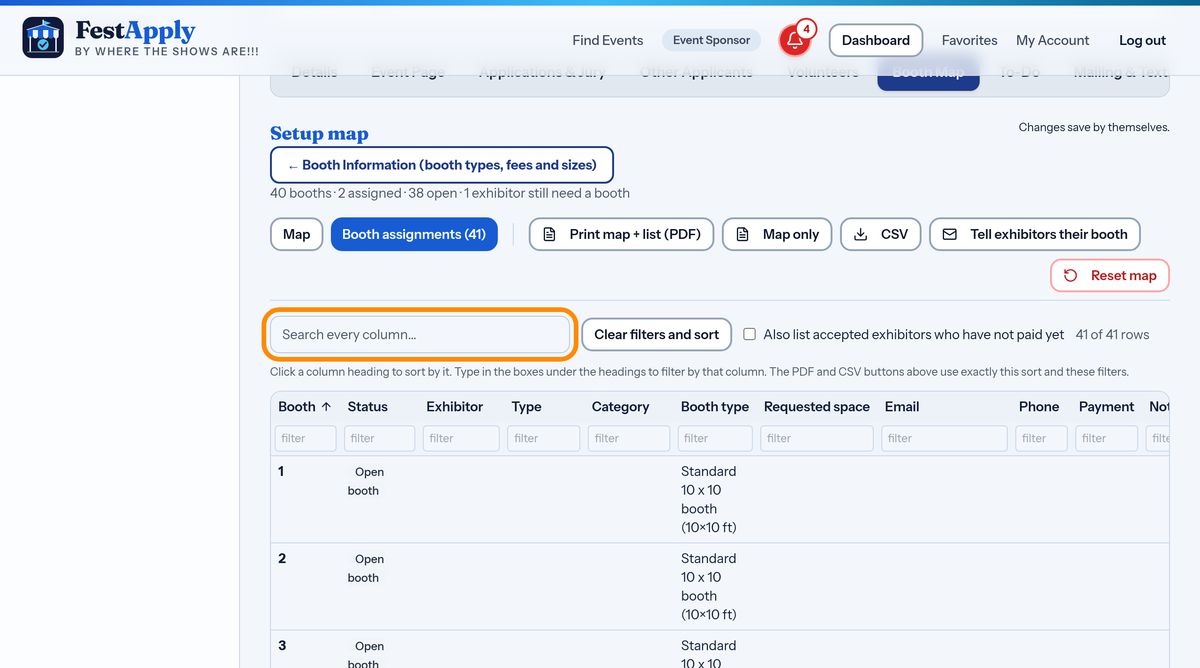
4Search every column

Or type in the search box to look through every column at once.

Search every column

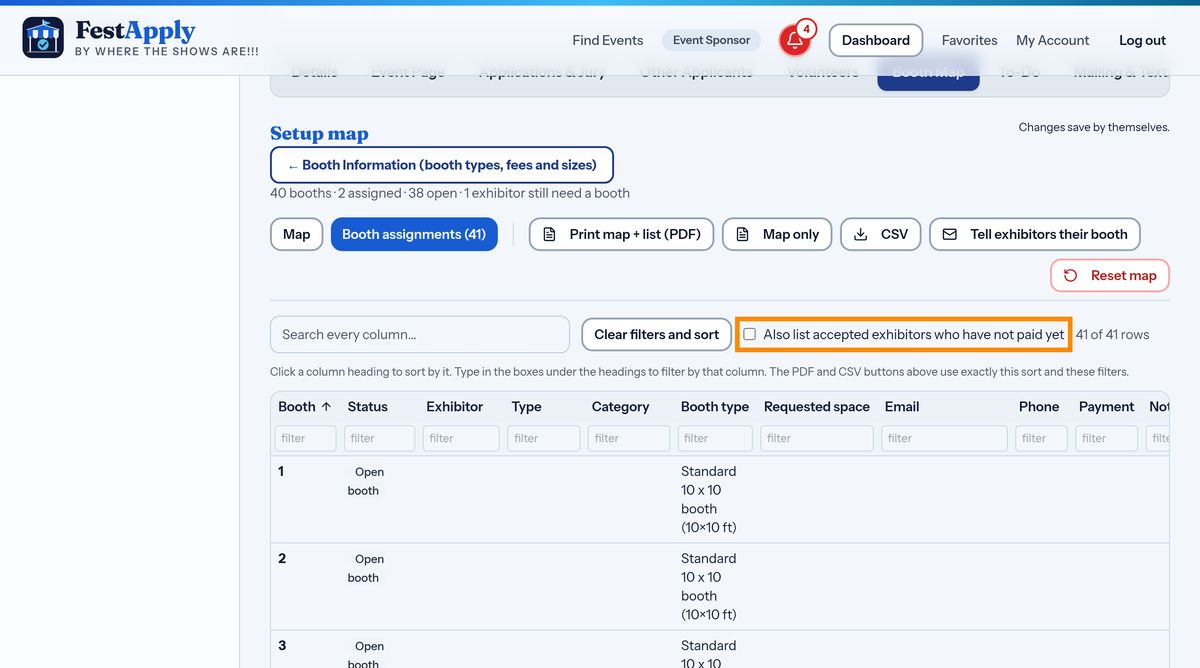
5Exhibitors who have not paid

Tick this box to also list accepted exhibitors who have not paid yet, so you can plan around them.

Exhibitors who have not paid

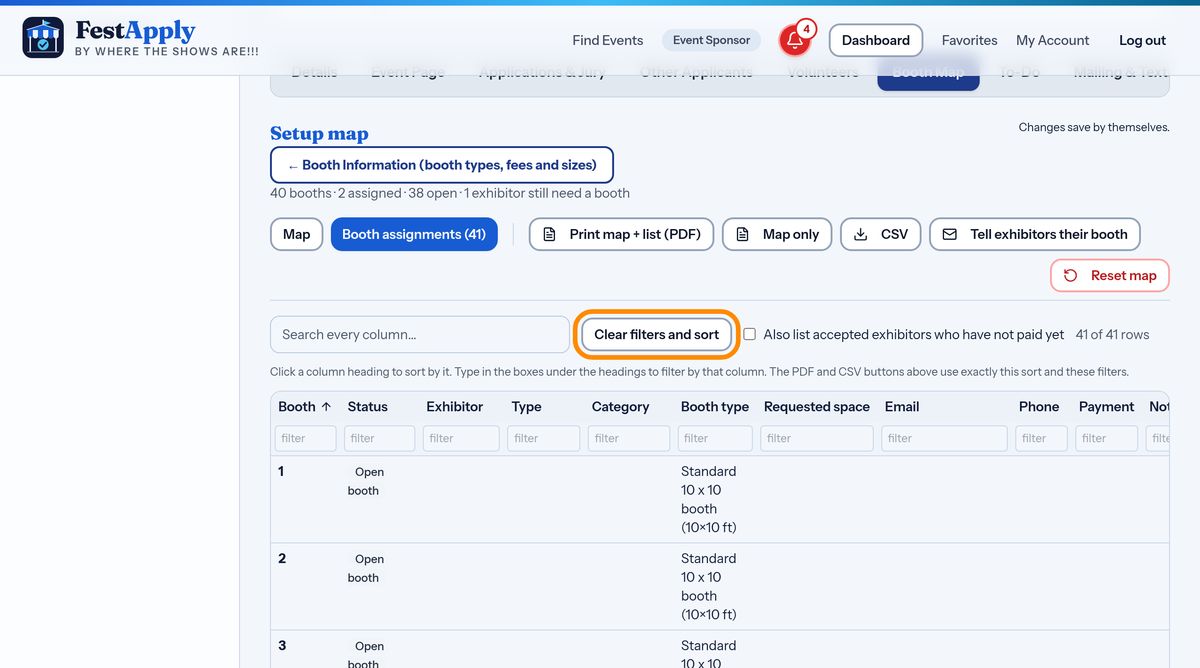
6Clear the filters

Press Clear filters and sort to start fresh.

Clear the filters

7Print or download

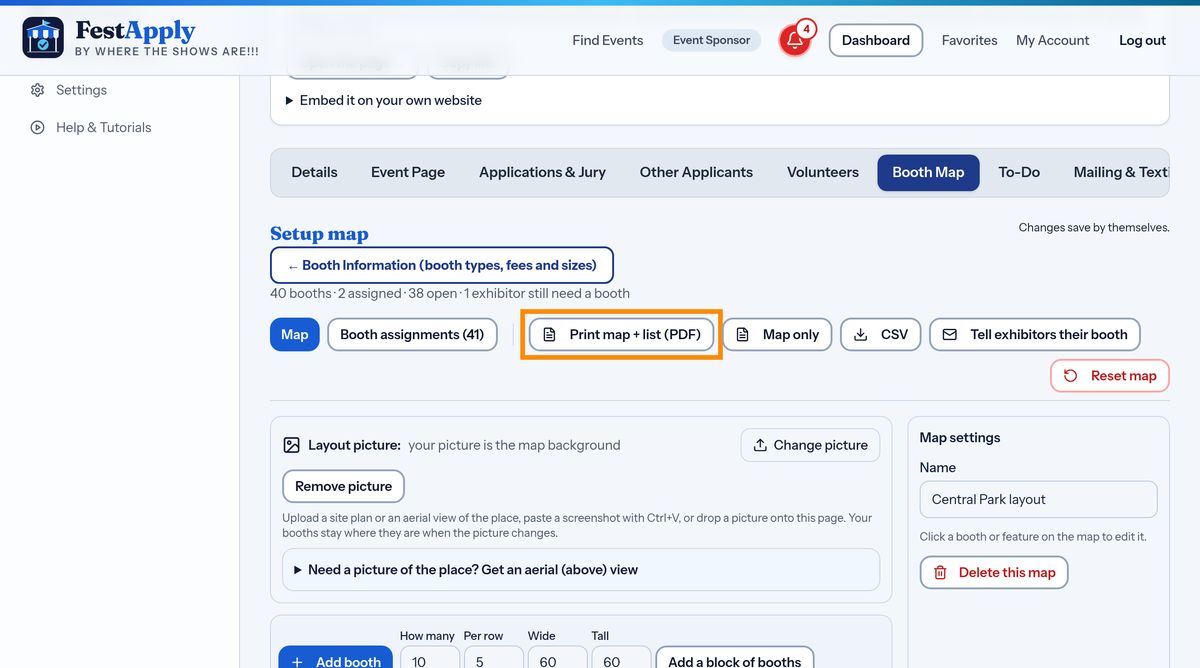
Print map and list makes a PDF with your map and the table, using exactly the sort and filters you chose. Map only prints just the picture. CSV downloads a spreadsheet.

Print or download

8Tell exhibitors their booth

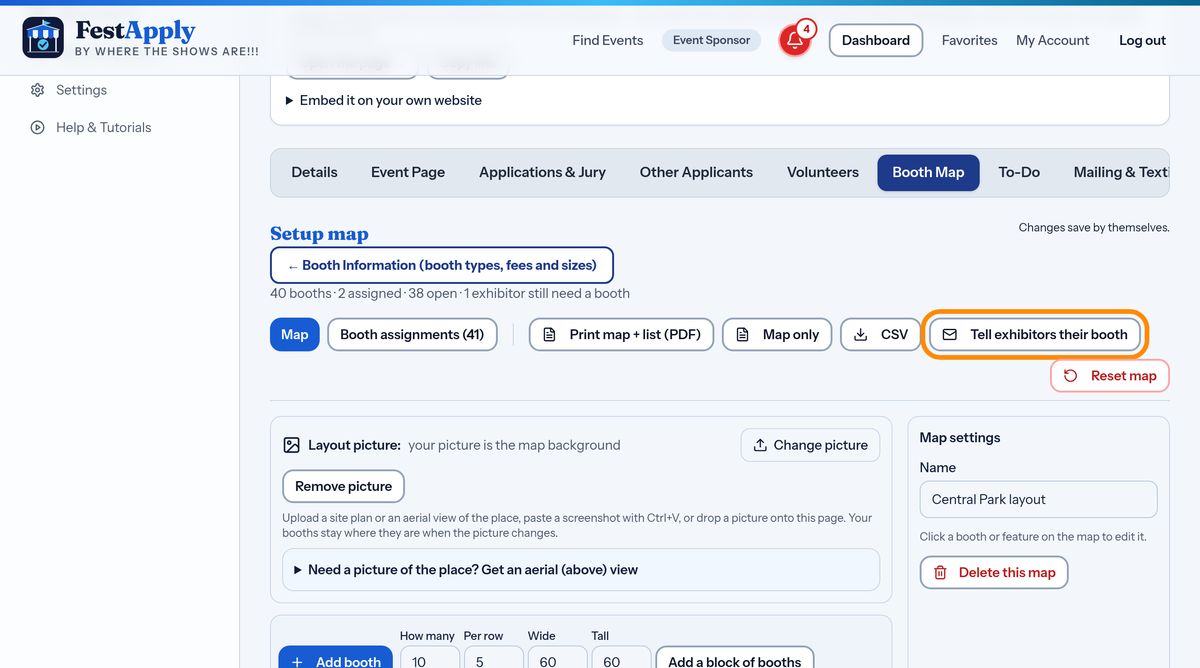
When you are ready, press Tell exhibitors their booth. FestApply emails and texts each exhibitor their booth number. It only tells people whose booth is new or has changed.

Tell exhibitors their booth

9Start over if you need to

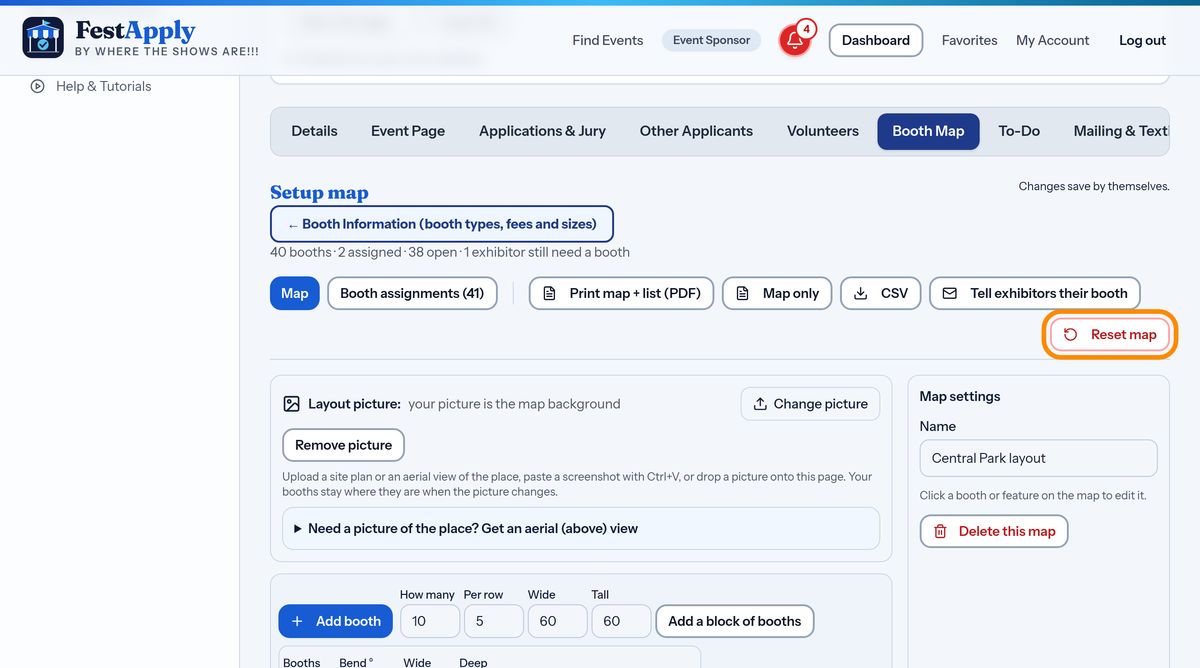
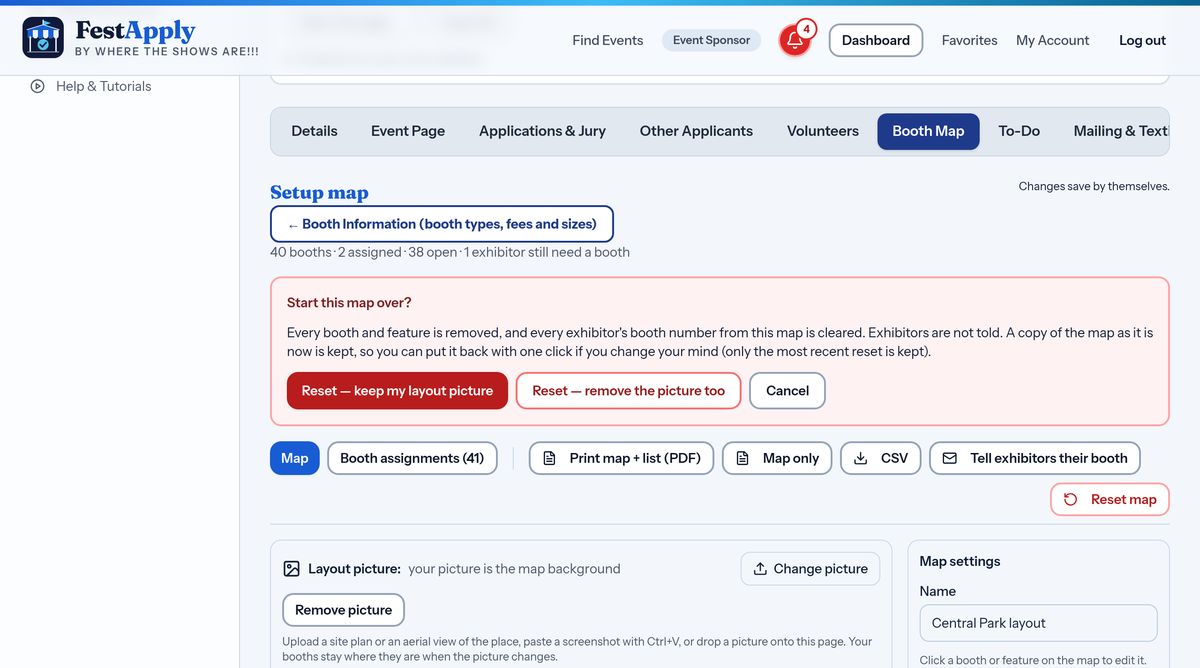
Made a mess? Press Reset map. You choose whether to keep your layout picture or remove it too.

Start over if you need to

10Put the old map back

After a reset, a banner offers Put the old map back, so you can undo it if you change your mind.

Put the old map back