All event sponsor tutorials

Lesson 8 of 21

Volunteers, Areas and Teams

Set up volunteer areas with leaders and staff, place your volunteers, and print the team lists.

Prefer to read? The steps

1Ask for volunteers

If you need volunteers, open the Volunteers section of your event page and tick that you are looking for volunteers. Choose the jobs people can help with, and add a message about shifts and perks. People can then sign up on your event page.
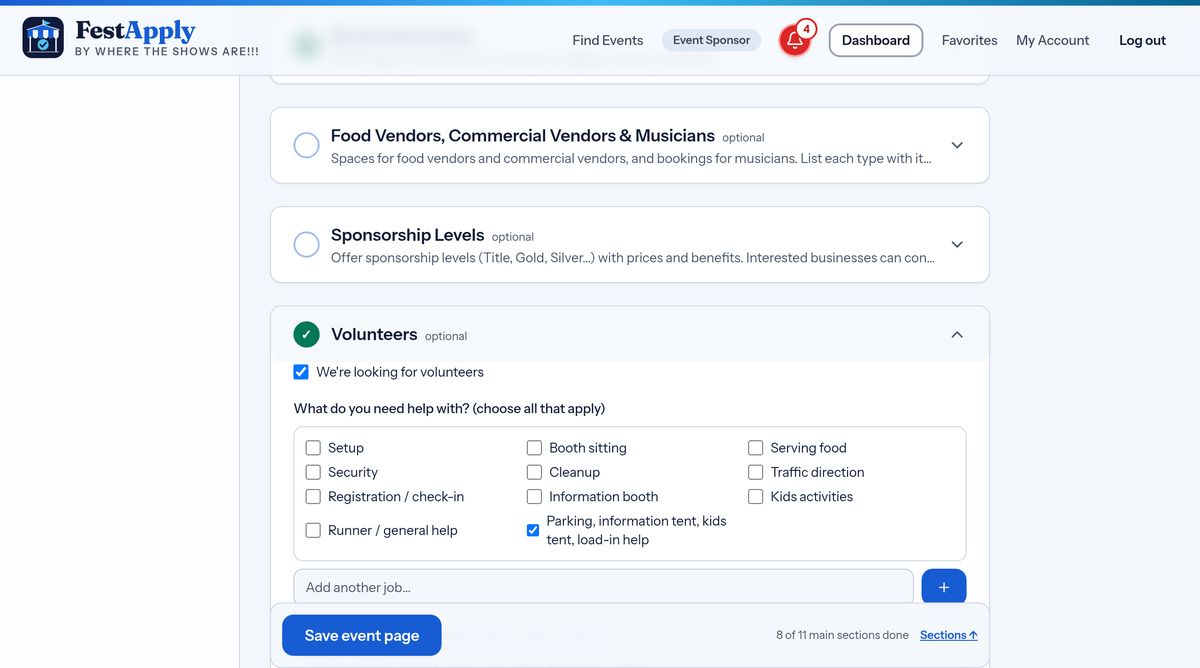
Ask for volunteers

2Create your areas

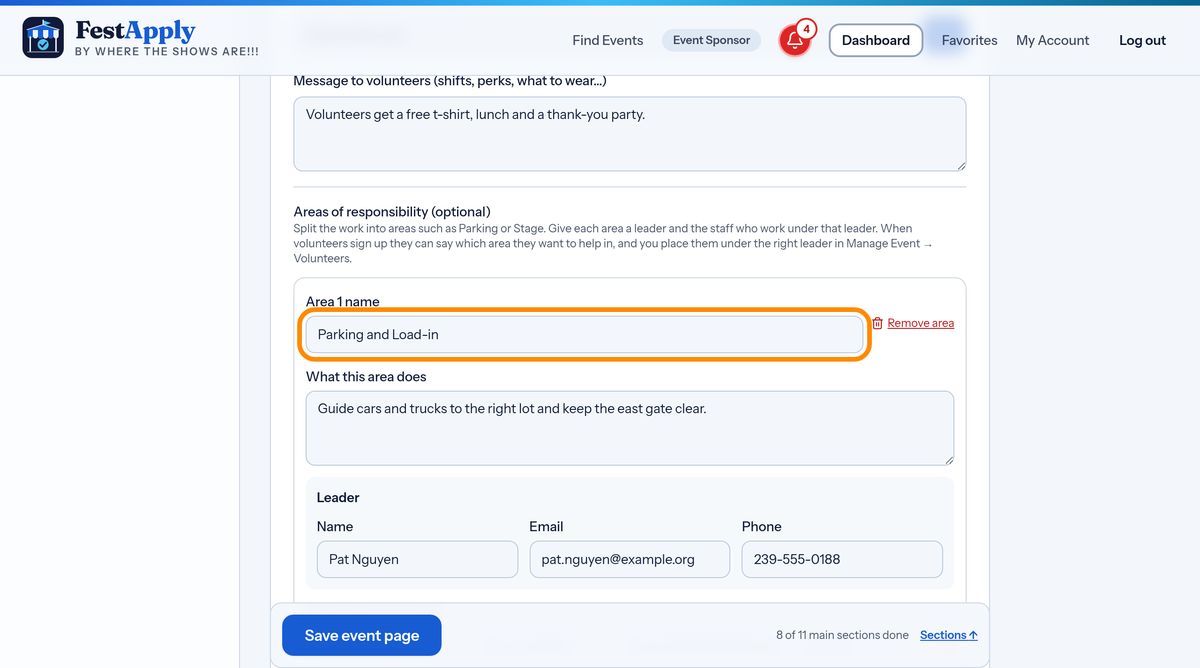
Further down, create your areas. An area is one team, such as Parking and Load-in, the Information Tent, or the Kids' Art Tent. Give each area a name, and say what the team does.

Create your areas

3Name a leader

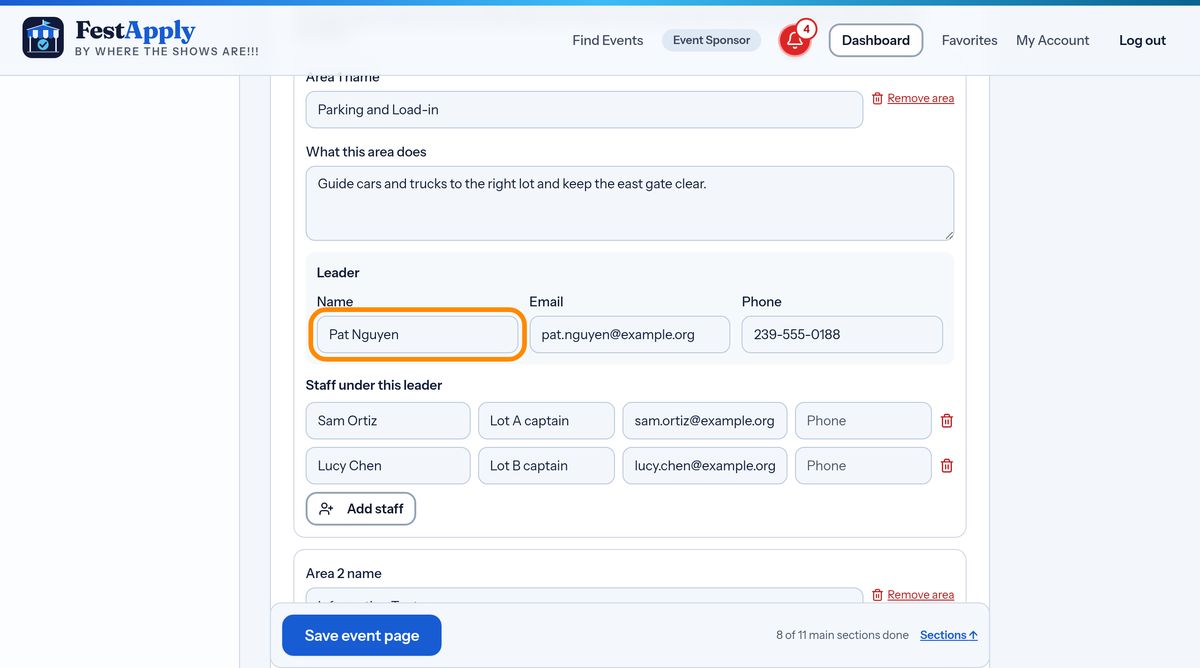
Every area has a leader. Enter the leader's name, email and phone. Volunteers who join the area work under this person.

Name a leader

4Add staff under the leader

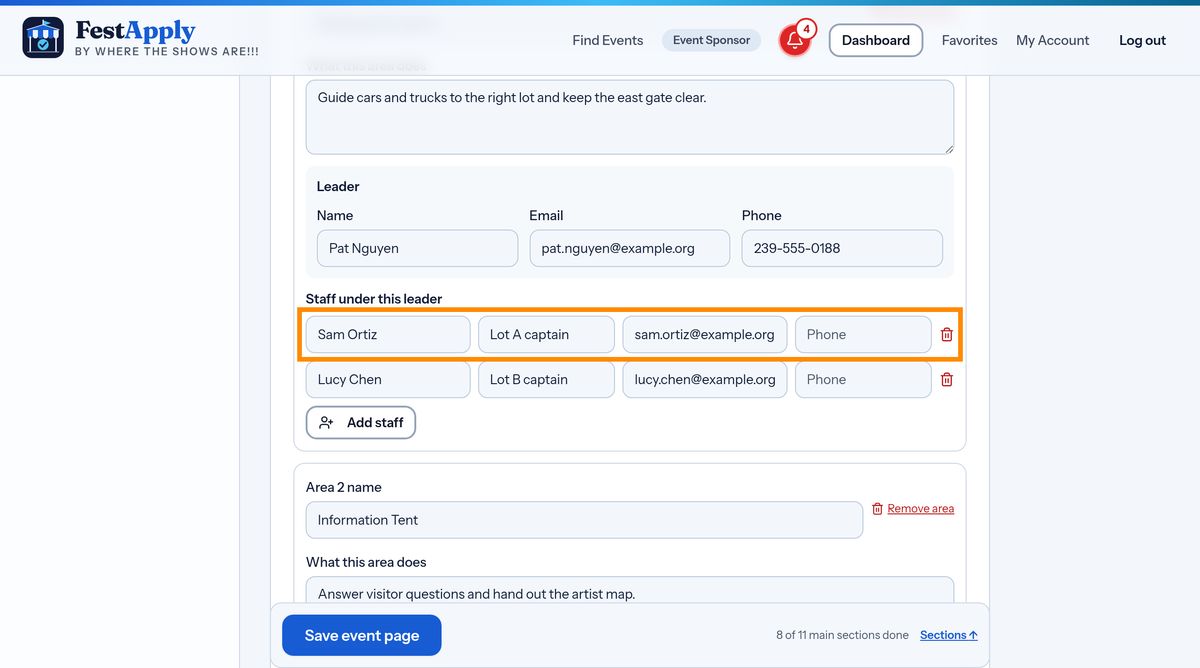
A big area can have staff under the leader, for example a captain for Lot A and another for Lot B. Give each person a name, a role, an email and a phone.

Add staff under the leader

5Volunteers arrive

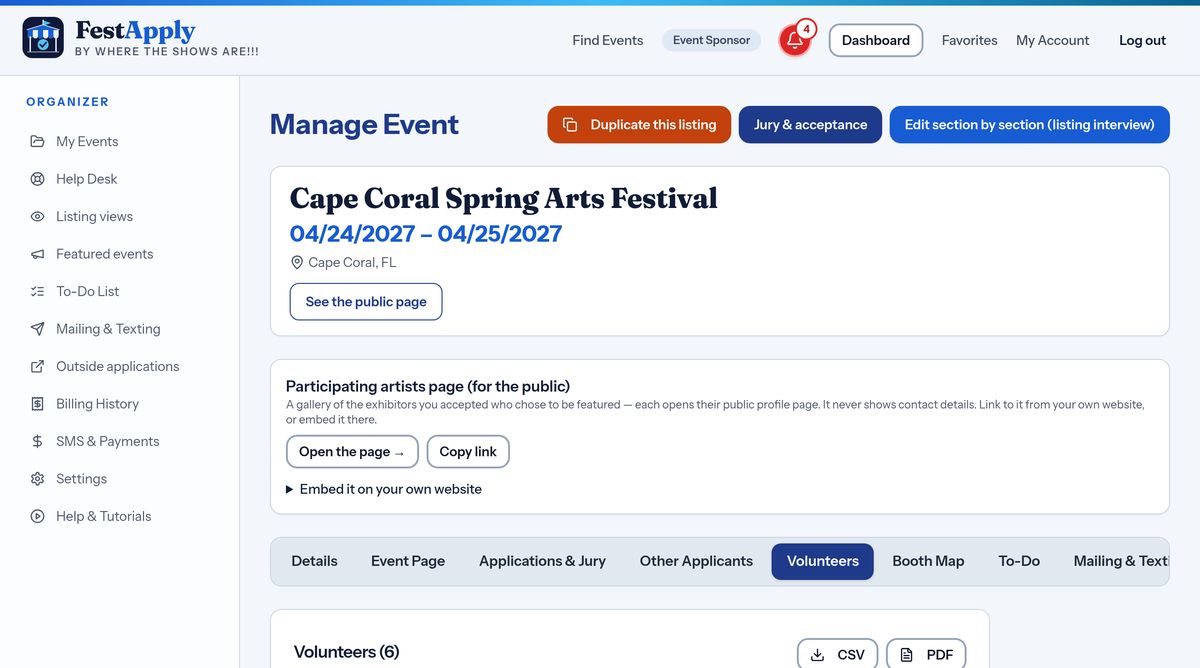
When people sign up, they appear on the Volunteers tab of Manage Event. Each shows their name, the jobs they offered, and their contact details.

Volunteers arrive

6Place each volunteer

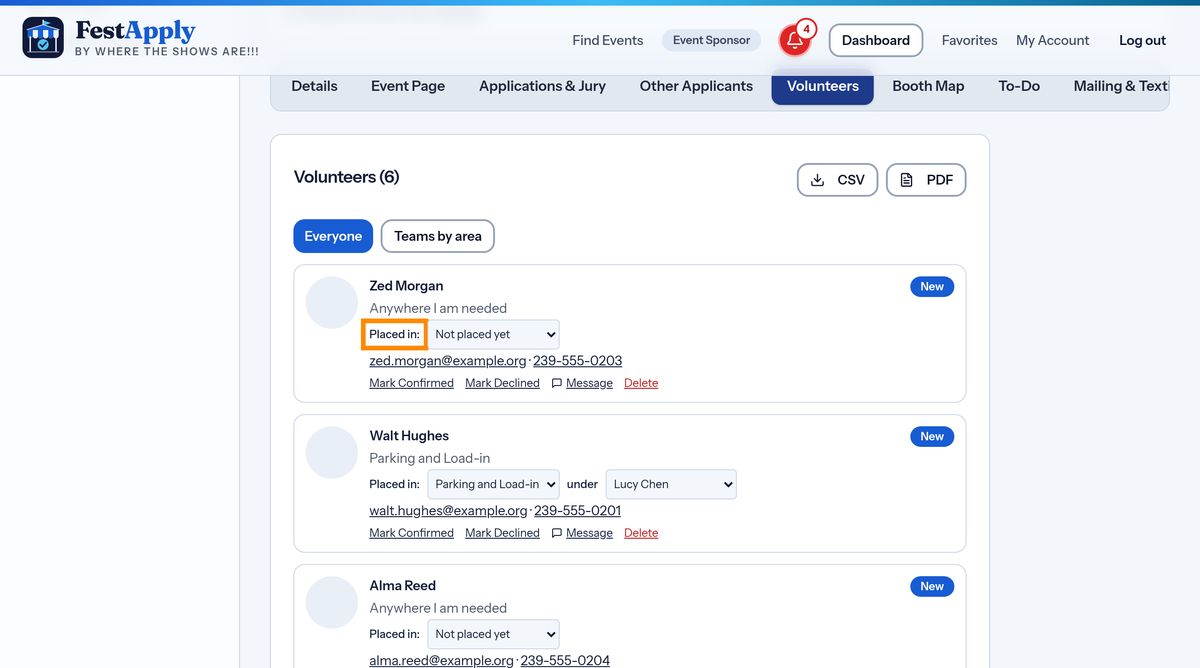
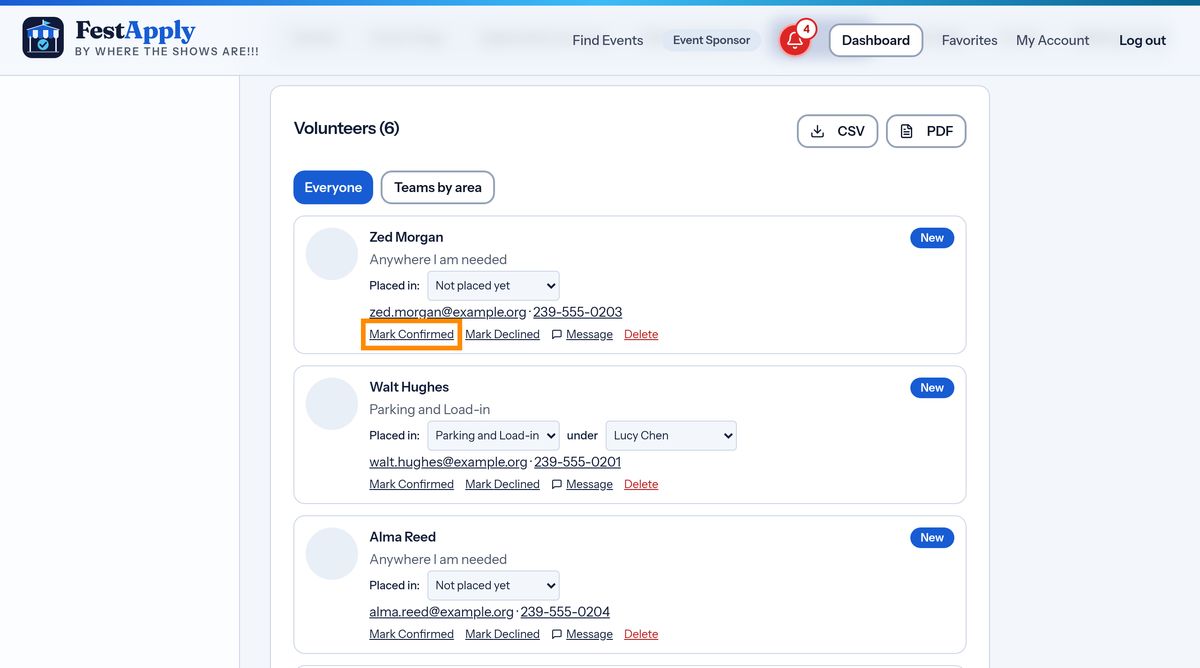
For each volunteer, choose their area, and the staff member they report to, if the area has staff. Anyone you have not placed yet is labeled Not placed yet, so nobody is forgotten.

Place each volunteer

7Confirm or decline

Use Mark Confirmed or Mark Declined, so you always know who is really coming. You can also send a volunteer a message from here.

Confirm or decline

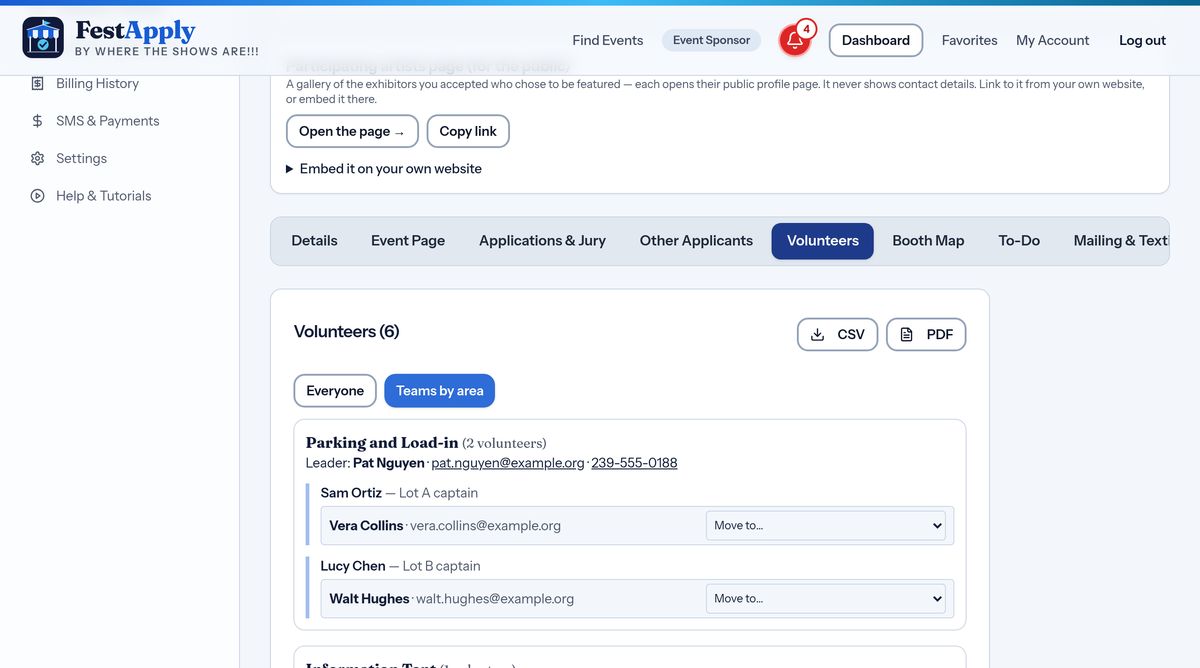
8The Teams view

Press Teams by area to see every area as a roster: the leader, the staff, and who is on each team. Show it to your area leaders so everyone knows who they are working with.

The Teams view

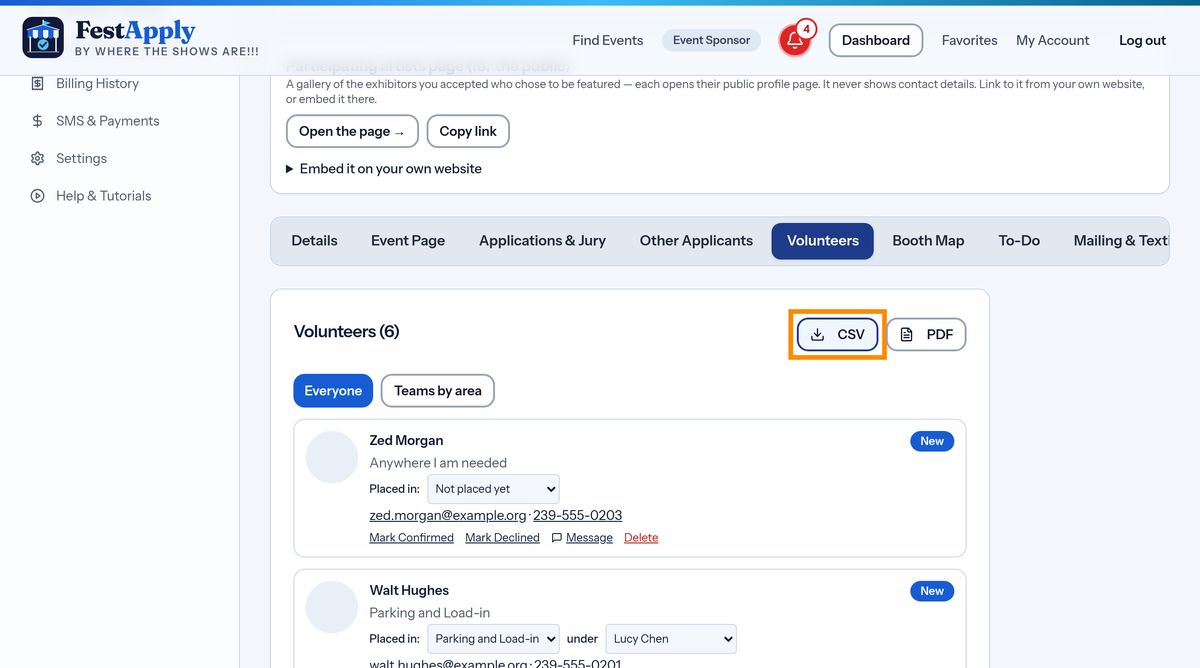
9Print or export

Download the list as a spreadsheet, or as a PDF to print for check-in day.

Print or export